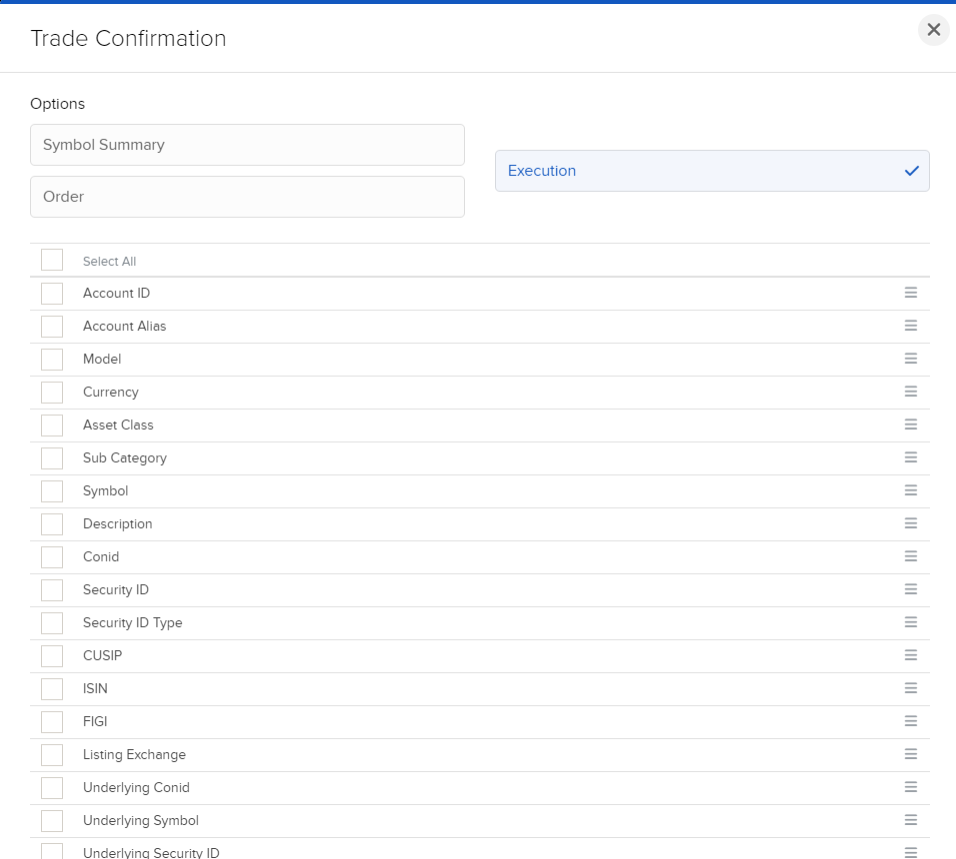
Trade Confirmation Flex Queries
Instructions
You create Trade Confirmation Flex Queries on the Custom Flex Queries screen.
-
Click Reports > Flex Queries.
The Flex Queries screen opens.
-
In the Custom Flex Queries panel, click the plus (+) icon.

-
In Activity Flex Query Details, enter the name of the Flex Query.

-
In Sections, click each section that you want to appear in your Flex Query.

- As you select each section, a popup opens with all possible fields in the selected section.
- Select level of detail options at the top of the popup.
- Click each field that you want to appear in the Flex Query.
- Change the order in which the fields will appear by dragging each field to a different position by the bars symbol on the right.
-
Click Save.

-
In General Configuration, enter the date and time format and date/time separator, include cancel trades, audit trail fields, etc.

- Click CONTINUE.
- Review your Flex Query and click Create.
You can now run your new Flex Query.