Using the Account Selector
Instructions
The Account Selector can display on a single screen the Account ID, Client Type, Account Alias, Account Status, Account Balance, Net Asset Value and other information for all of your accounts. After you choose a menu option at the top of the screen you will be prompted to select one or more accounts.
-
Click the Head and Shoulders
 icon in the top right corner of any portal page. If you have multiple accounts the Account Selector will slide in from the top right corner.
Note: If you do not see the Account Selector icon you do not have multiple accounts or partitions.

-
Click the check box(es) that correspond(s) to the account(s) you want to use. Change your selections, click Reset.
-
Click Continue.
The summary screen opens and displays data for the account(s) you have selected.
If you have multiple accounts and have already logged into one, you can easily switch to another.
-
Click the Account Selector icon at the top right of the screen.
-
Click the check box(es) that correspond(s) to the account(s) you want to use. To choose a different account, clear your selections by clicking Reset.
-
Click Continue.
The Home screen reloads and displays data for the selected account(s).
In the Account Selector's Search Accounts field, enter part of the Account Title or Client Type then click the magnifying glass icon. To clear the search and search results fields click the X.
-
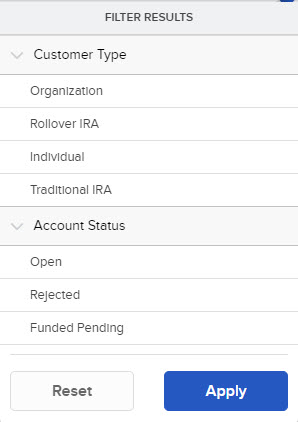
In the Account Selector, click the filter icon located above the list of accounts (the second icon from the right).
-
Select the desired account type (for example, Individual or Joint) then click Apply.

The list of accounts updates to display all accounts that match the client type you selected.
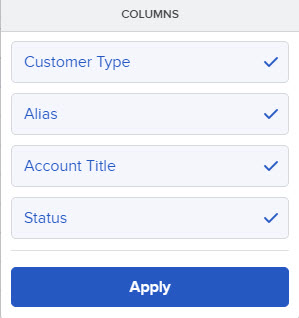
By default, the Account Selector displays the account ID and client type for each of your accounts. To display additional information, such as Account Alias or Account Status:
-
Click the gear icon located above the list of accounts (the last icon on the right).
-
Select the information you wish to add, for example Account Title and Account Alias.
-
Click Apply.

The list now includes the additional information you selected.